Let's face it: lawn mower repairs can be frustrating, but tackling them yourself can save money and boost your DIY skills. This guide provides step-by-step instructions for maintaining and repairing your Craftsman lawn tractor, covering common issues and part replacements. Even beginners can gain the confidence to handle these tasks. For more detailed instructions, check out this helpful Craftsman manual. Let's get started!
Decoding Your Mower's Model Number: The First Step
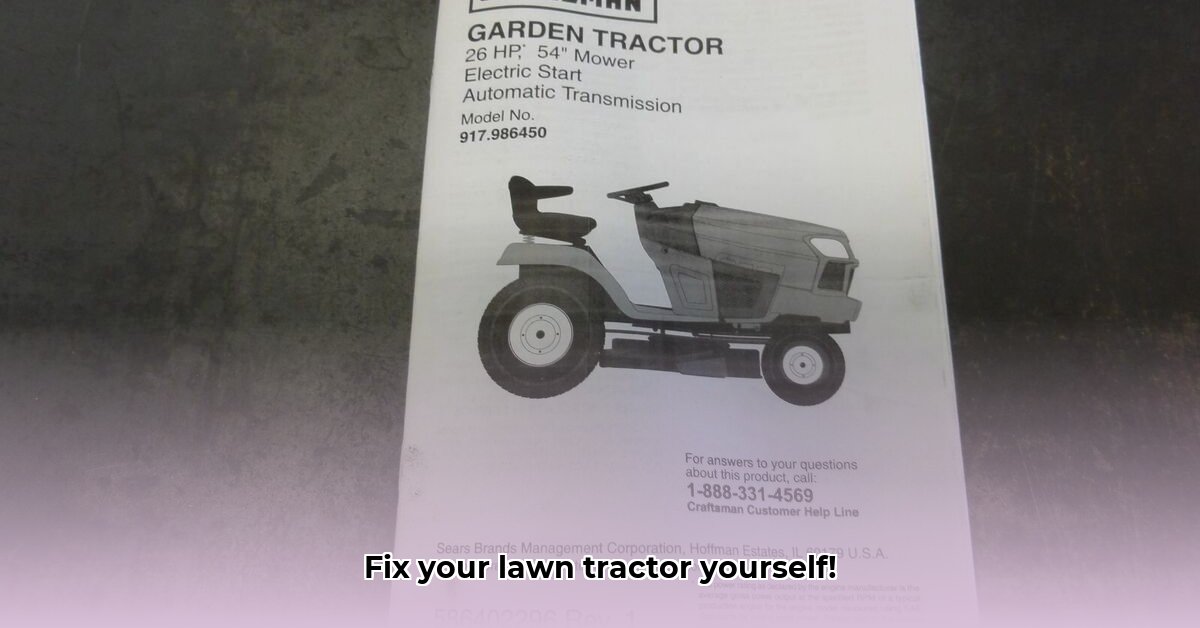
Before ordering parts, find your mower's model number. This crucial identifier ensures you get the correct components. Think of it as your mower's unique fingerprint! It's usually on a sticker under the seat or on the mower's frame. Write it down—you'll need it often.
Locating Craftsman Parts: Your Supply Options
Finding the right parts is easy. You have two excellent resources:
Sears PartsDirect: This online store specializes in Craftsman parts. Enter your model number to find precisely fitting components for your mower.
The Official Craftsman Website: This offers the same convenience as Sears PartsDirect, ensuring genuine parts directly from the manufacturer.
Common Problem Areas: Parts That Often Need Attention
Knowing which parts frequently require replacement saves time and frustration. Here are common culprits:
Air Filter: A clogged air filter restricts airflow, reducing engine efficiency. Regular replacement is essential for optimal performance. Think of it as your mower's lungs!
Spark Plug: This crucial component ignites the fuel-air mixture. A fouled spark plug can prevent the engine from starting. Regular checks and replacements are vital.
Blade Belt: This connects the engine to the blades. A broken or worn belt prevents blade rotation. Regular inspection and timely replacement are crucial.
Alternator: This keeps your battery charged. A faulty alternator leads to a dead battery and an unusable mower.
Troubleshooting Common Issues: Quick Fixes
Sometimes, minor adjustments resolve problems without part replacements. Here are some examples:
Mower Deck Vibration: This often indicates a blade or spindle issue.
- Blade Inspection: Carefully examine the blades for bends or damage. Replace any damaged blades.
- Spindle Check: If the blades are fine, inspect the spindle (the part holding the blades) for looseness or damage. Tighten or replace as needed. Safety First: Always disconnect the spark plug before working on the blades.
Belt Replacement: A Step-by-Step Guide
Replacing a blade belt is a manageable DIY task. This guide will simplify the process.
Step 1: Safety First! Disconnect the spark plug before working on the blades.
Step 2: Belt Location: Identify the belt connecting the engine to the mower deck.
Step 3: Removing the Old Belt: Consult your owner's manual for specific instructions. Generally, you'll need to loosen pulleys.
Step 4: Installing the New Belt: Use the owner's manual to ensure the new belt is correctly routed over the pulleys. A misaligned belt can cause problems.
Step 5: Reconnecting and Testing: Reattach the spark plug. Start the mower and check that the blades spin smoothly.
Preventative Maintenance: A Schedule for Success
Regular maintenance extends your mower's life and prevents costly repairs. Follow this schedule:
Before Each Use: Inspect blades, belt, air filter, and fuel level.
After Each Use: Clean grass clippings from the mower deck to prevent clogging.
Seasonally (Spring and Fall): Change the oil and air filter, and sharpen or replace blades.
Annually (or as needed): Consider a professional checkup for a thorough inspection.
Essential Toolkit: Your Repair Arsenal
Having the right tools makes repairs easier and safer. Here are the essentials:
| Tool | Use |
|---|---|
| Socket Wrench Set | Removing and installing nuts and bolts. |
| Adjustable Wrench | Tightening and loosening nuts and bolts. |
| Screwdrivers (Phillips & Flathead) | For various screws and fasteners. |
| Pliers | Gripping and manipulating small parts. |
| Multimeter | Testing and diagnosing electrical issues. |
Remember, safety is paramount. If unsure about any repair, consult your owner's manual or a qualified mechanic. Proper care ensures your Craftsman lawn tractor delivers years of reliable service.
Troubleshooting Craftsman Riding Mower Deck Vibration: A Detailed Guide
Excessive vibration indicates a mechanical issue. Addressing it promptly prevents further damage and enhances safety. Let's troubleshoot effectively.
Blade Inspection: The Most Common Culprit
Inspect the blades for bends, cracks, or imbalance. An unbalanced blade is a leading cause of vibration. Remove, inspect, balance (using a blade balancer if possible), and reinstall them securely. (Always disconnect the spark plug first!)
Bearing Check: Addressing Wear and Tear
Worn bearings in the spindle housing or pulleys create imbalance and noise. Inspect for damage, check for play in the blades, and replace worn bearings or pulleys.
Belt and Pulley Alignment: Keeping it Smooth
Inspect belts for cracks or fraying, and replace worn belts. Verify pulley alignment to prevent belt slippage and consequent vibration.
Deck Cleaning: A Simple Yet Effective Solution
Remove grass clippings and debris from under the mower deck. This simple step often resolves vibration problems.
Advanced Troubleshooting: When Simple Fixes Aren't Enough
If the above steps don't solve the problem, consider inspecting the clutch mechanism (for self-propelled mowers), engine mounts (all models), and crankshaft (push mowers). For serious issues, consult a professional.
Remember: safety is key. Always follow your owner's manual and seek professional help when necessary.